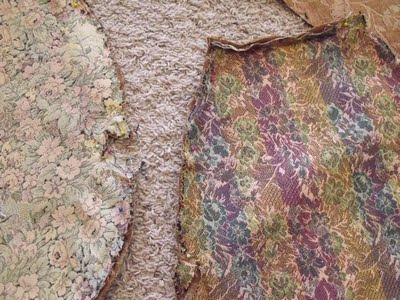
So here are the BEFORE photos. I actually had a pillow on the seat because as you can see, there was a BIG hole where you put your tush! I think the black stuff is actually horse hair so it was also very messy!

Friday night became my 'get er done" night. I popped in my Redbox video (LOVE those machines), pulled out the fabric that I bought at Joanne's many moons ago (with a 50% off coupon of course) and got busy. I used a flat head screw driver to pop out the upholstery tacks.
 I also got a pair of wire cutters (only because I couldn't find my needle nosed pliers. Those darn boys of mine use my tools for pimping their scooters!!! That's a whole nuther blog post!!!
I took photos of each step, mainly because I was a little nervous about putting everything back the same way! I do have to say, it was not as bad as I imagined. After removing all the staples...which took 3 hours...I took the old fabric and used it as a pattern for the new fabric.

Turns out the wood was in pretty good shape, other than a few good nicks I made with my tools! I just took some Old English scratch filler...which I use on my laminate floors that aren't supposed to scratch!!!.. and polished it all with lemon oil. Good as new!!!
Next I started reassmbling everything using my handy dandy staple gun.
I started pulling and stapling and stapling and pulling the new fabric back onto the wood frame.
 The padding was pretty comfy, so I decided to salvage what I could. For the big hole, all I did was add a few layers of fiberfill (that I got for 10 cents a bag at Big Lot's after Christmas last year). SCORE!!!
I learned to sew from my mom and in 6th Grade Home Ec (thanks mom & Mrs. Grace) so decided to include trim...like the orginal. I just used some of the new fabric and that's what you see at the very bottom of the seat.

Kept pulling and stapling, stapling and pulling!

No comments:
Post a Comment